What to Expect During a Professional Aircond Installation
Booking a new aircond install? Here's what to expect on the day — step-by-step process, time required, commissioning test, and cleanup.
Buying the unit is the easy part. The actual aircond install day often brings unexpected headaches, especially in Kuala Lumpur high-rises.
Our technicians see the same easily avoidable issues every week.
A clear understanding of the aircond installation process separates a smooth setup from a messy, stressful afternoon. Let’s walk through exactly what a professional new aircond setup should look like, step by step.
Before the install day
Getting ready starts before the truck pulls up. High-rise condominiums in the Klang Valley have strict Joint Management Body (JMB) rules.
Our team needs approved access to start work. You will likely need to place a refundable renovation deposit, usually between RM1,000 and RM3,000, with your management office. Getting this sorted early prevents delays.
Handle these few things in advance:
- Secure JMB approval and book the designated service lift.
- Clear the wall space where the indoor unit will mount (allow 600mm clearance below and 100mm above).
- Identify where the outdoor condenser will sit based on building guidelines.
- Have a dedicated parking spot or load-in plan arranged.
- Make sure an adult is home to give access and confirm the final placement.
Step 1: Arrival and walkthrough
The crew arrives with the new unit, heavy copper piping, brackets, and specialized tools. Taking five minutes to review the plan prevents permanent mistakes.
We confirm the exact mounting locations with you before drilling a single hole. Changes cost money and time once the trunking is cemented or routed.
The initial walkthrough covers four main areas:
- Confirm the indoor unit placement for optimal room coverage.
- Verify the outdoor condenser location complies with DBKL facade rules.
- Map out the most direct piping route.
- Establish the drainage outlet position.
Step 2: Protect the work area
Dust and debris are inevitable when drilling into masonry walls. Floor sheets go down heavily throughout the work zone.
We cover the space under the indoor unit, along the piping route, and around the balcony access. Your furniture nearby gets draped in protective plastic. The aim is zero mess left on your floors and walls.
Preparing the mounting surfaces
Proper preparation protects your property. Wall plugs must match the specific brick or concrete type.
Our installers use heavy-duty anchors to prevent the unit from vibrating loose over time.
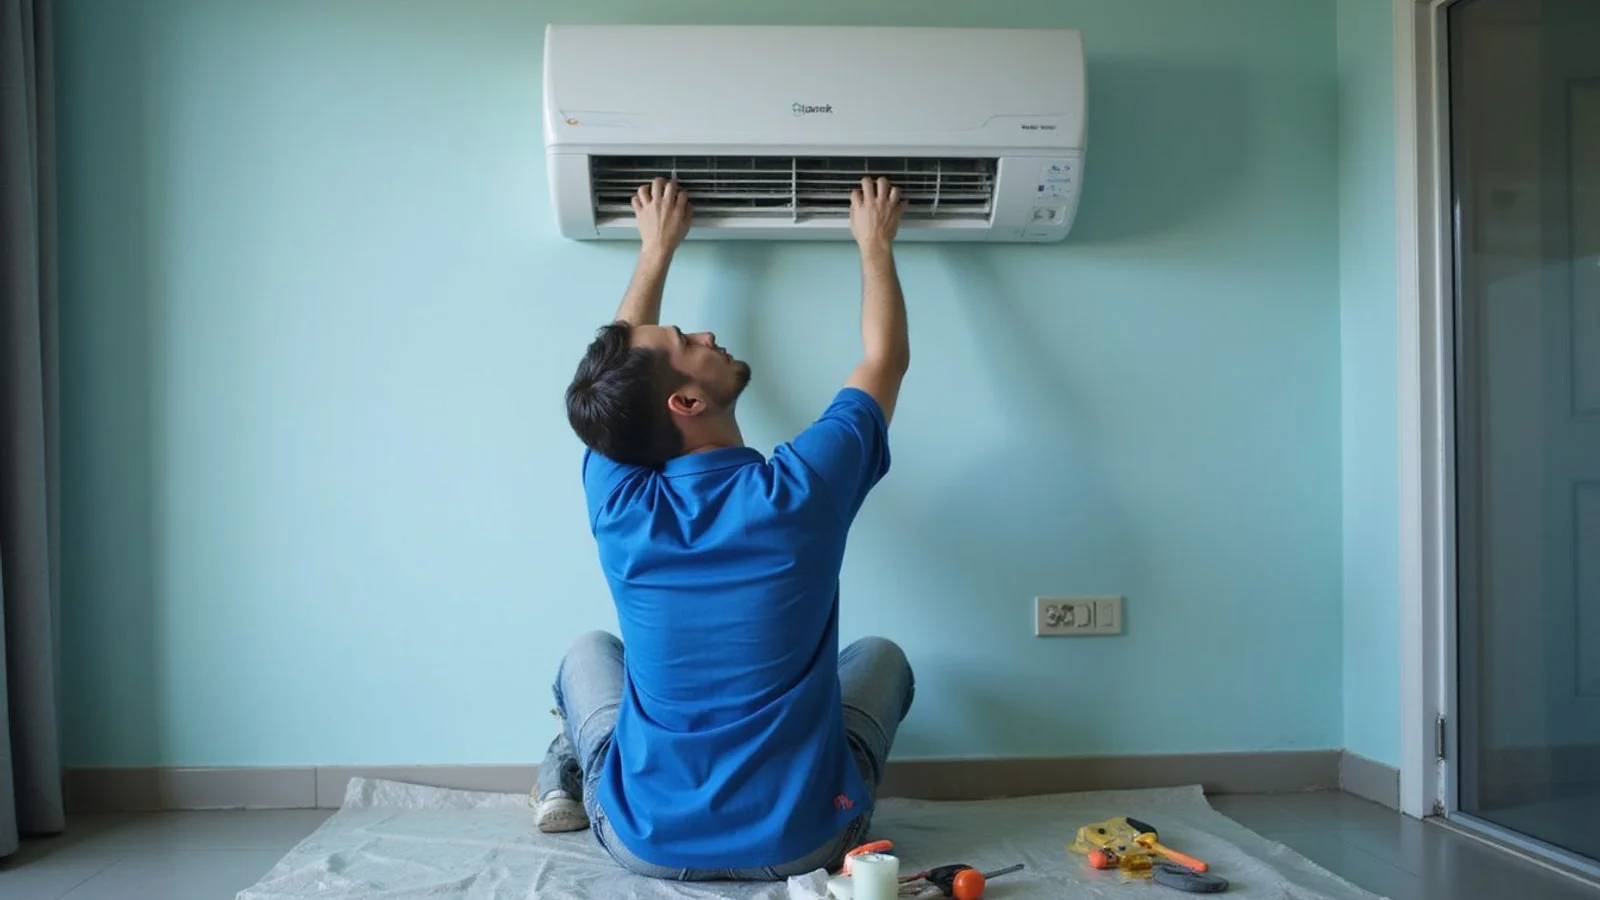
Step 3: Indoor unit mounting
The metal bracket fixes to the wall first. Using a spirit level is non-negotiable for this step. A tilted bracket creates a slanted aircond, which immediately causes water pooling and drainage blockages.
We secure the bracket directly into wall studs or solid concrete. The indoor unit then hooks firmly onto this mount.
Our technicians verify a very slight, 5mm downward tilt toward the drainage side. Gravity then pulls the condensation away reliably instead of letting it spill into your room.
Step 4: Outdoor condenser placement
The condenser sits on a dedicated wall bracket or rubber feet if placed on a balcony floor. It requires specific clearances to function without overheating.
We ensure at least 30cm of open space around the sides and back for proper airflow. The placement must accommodate several critical factors:
- Unrestricted ventilation on all sides to expel hot air.
- Safe service access for future chemical washes.
- A perfectly level surface to stop loud compressor vibrations.
- Placement within pre-approved condo management zones.
Ignoring these DBKL and building rules often results in forced removal later.
Step 5: Copper piping and insulation
This phase requires slow, precise craftsmanship. Modern units use R32 refrigerant, which operates at much higher pressures than older gases.
Our standard practice uses thick copper pipes rated at 0.71mm or 0.81mm (SWG 22 or 21). Cheap contractors frequently use thin 0.51mm pipes to cut costs. Those thin pipes often crack under R32 pressure and cause complete gas leaks within two years.
| Copper Pipe Thickness | Suitability for R32 Gas | Expected Lifespan |
|---|---|---|
| 0.51mm (SWG 24) | High risk of cracking | 1-2 Years |
| 0.71mm (SWG 22) | Good standard | 7-10 Years |
| 0.81mm (SWG 21) | Premium durability | 10+ Years |
We pair this heavy copper with premium NBR (Nitrile Butadiene Rubber) foam insulation. Brands like Superlon are standard in Malaysia for stopping external condensation.
The insulation wraps the entire pipe length tightly to prevent water drips inside your ceiling or walls.
Step 6: Drainage line
The condensate PVC pipe moves water from the indoor tray to the outside drain. Gravity does the heavy lifting here.
We ensure a continuous downward slope with absolutely no humps or upward bends. Trapped water breeds mold and causes nasty odors.
A poorly angled drain pipe is the main culprit for units spitting water down your wall within the first few months. The outdoor outlet is positioned carefully so it drips clear of public walkways and your neighbor’s windows.
Step 7: Vacuum test
Many discount installers skip the vacuum test entirely to save thirty minutes. Skipping this critical step leaves moist air inside the copper lines.
Our technicians connect a digital vacuum pump and pull the system pressure below 500 microns. Moisture reacts chemically with R32 gas and compressor oil to form a damaging sludge.
This acidic mixture destroys the compressor from the inside within two to three years. A steady vacuum reading also proves the copper piping is completely sealed and leak-free.
Step 8: Refrigerant release and commissioning
The system is ready for the factory-charged refrigerant once the vacuum holds. Opening the service valves floods the lines, sealing the system completely.
We then power up the unit and run it on the lowest cooling setting. The testing phase confirms everything operates perfectly:
- Verify the indoor blower fan engages smoothly.
- Check the outdoor condenser fan spins freely.
- Listen for the compressor to kick on properly.
- Measure the temperature drop (Delta-T) across the vents.
You get to watch the room temperature drop in real-time. Any unusual noises or weak cooling get addressed right on the spot.
Step 9: Cleanup
A professional job ends with a spotless room. The plastic sheets get rolled up carefully.
We bag all cardboard packaging, wire clippings, and PVC shavings for disposal. Surfaces wiped down earlier get a final check.
Dust from masonry drilling is vacuumed completely. Treating your home with respect matters immensely for a five-star finish.
Step 10: Handover
The final fifteen minutes involve teaching you how to run the system efficiently. Handing over the remote control is just the start.
We walk you through several important maintenance habits:
- Remote control basics for maximizing energy savings.
- Filter locations and the proper technique for rinsing them.
- Ideal service schedules (every three months for dusty KL areas).
- Warranty paperwork and manufacturer terms.
- Direct contact numbers for fast troubleshooting.
Rinsing your filters every few weeks drastically lowers your electricity bill. A typical single-unit installation takes about two hours from parking the truck to driving away.
What to look for in a quality install
Protecting your investment means verifying the new aircond setup before the technicians leave. A quick visual inspection gives you total peace of mind.
Check these specific details:
- Copper piping is wrapped completely with no exposed metal.
- The drainage pipe drips steadily while the unit runs on high.
- The indoor blower sits perfectly level against the wall.
- The outdoor compressor hums quietly without rattling the bracket.
- The room actually reaches your target temperature on the remote.
Any obvious rattling or missing insulation warrants an immediate fix.
Our aircond installation service covers the full process for residential and commercial units across the Klang Valley. You can WhatsApp +60 14-302 9055 with your unit details, and the scheduling team will get you booked in.
Need this service done?
See our Aircond Installation →